

— What are Jenkins Agents?
Jenkins jobs are executed on dedicated nodes called agents. Jenkins support many flavors of OS, configurations, and physical or virtual machines (VM) for use as agents.
— Why should we use “AWS”?
We will be using AWS for it’s convenience, low cost, reliability, scalability, security, and ephemeral properties.
— How do we attach an AWS node?
- Log into Jenkins
- Goto ~/computer
- Click on “New Node”
- Enter a Name for the agent (e.g. Jenkins-Agent)
- Enter a Description
- Enter the “Number of executors” (e.g. 2) – this parameter permits the number of concurrent jobs being processed by the agent. Keep in mind that our build times are constrained by node resources (i.e. CPU, disk I/O, RAM, etc.) where likelihood of bottlenecks increase executor counts
- Based on the User for the set of credentials that we utilize to SSH into the node, Enter the “Remote root directory”.
- For example: If our set of credentials is the private key that was generated from AWS, “mykey.pem”, the directory=/home/ubuntu as the User for this set of credentials is ubuntu, and if we choose to utilize kind=Username/Password, the directory would equal /home/ubuntu as well for User=ubuntu or another User that exists on the node
- For Labels, we’ll leave as-is; look for How-To=Agent pools where labels are discussed.
- For Usage, selecting “Use this node much as possible” works, but we should consider “Only build jobs with label expressions matching this node” where agents are reserved for specific Projects and Jobs
- For Launch method, select “Launch agents via SSH”
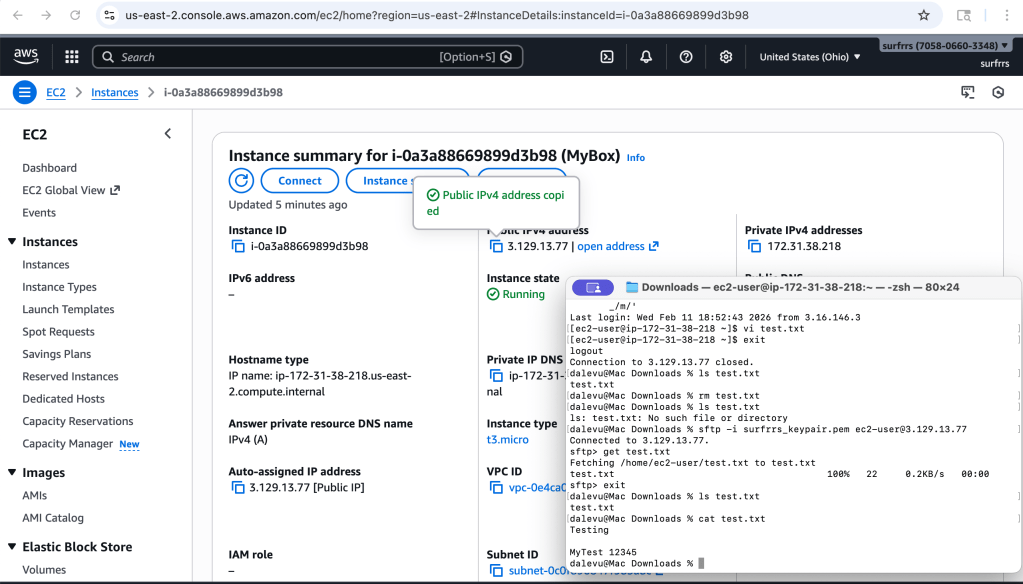
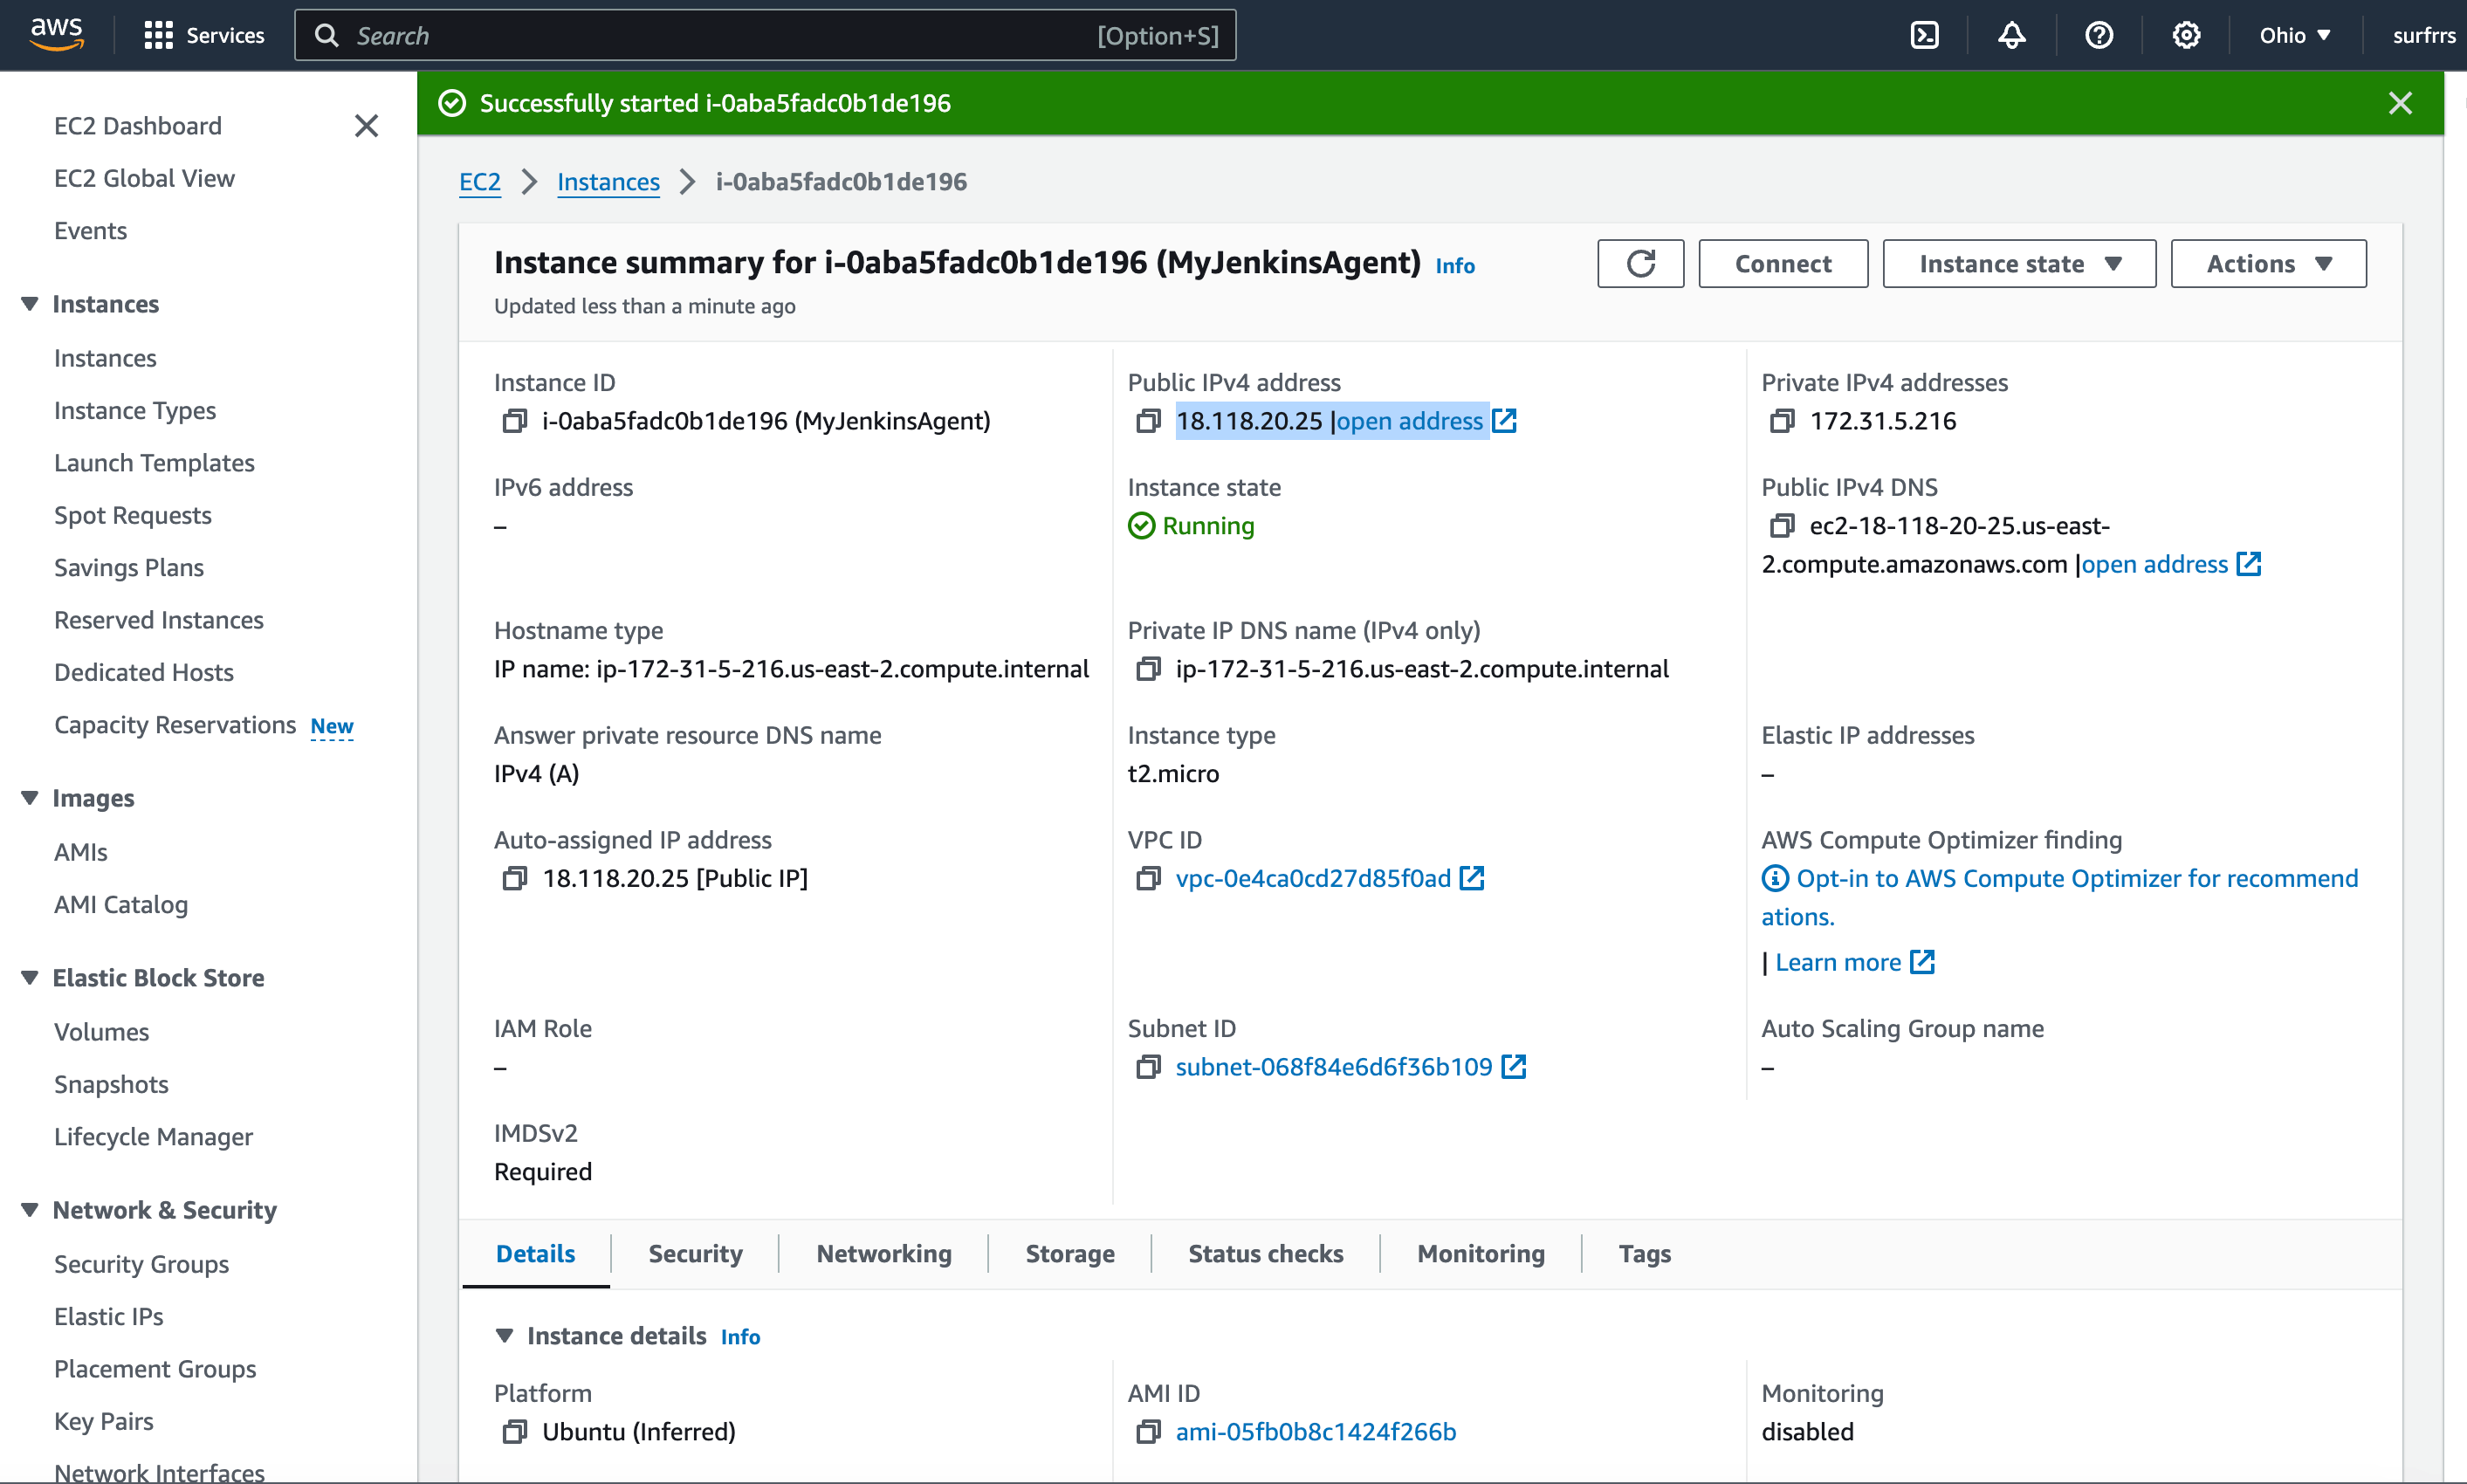
- Enter the FQDN or IP of our node
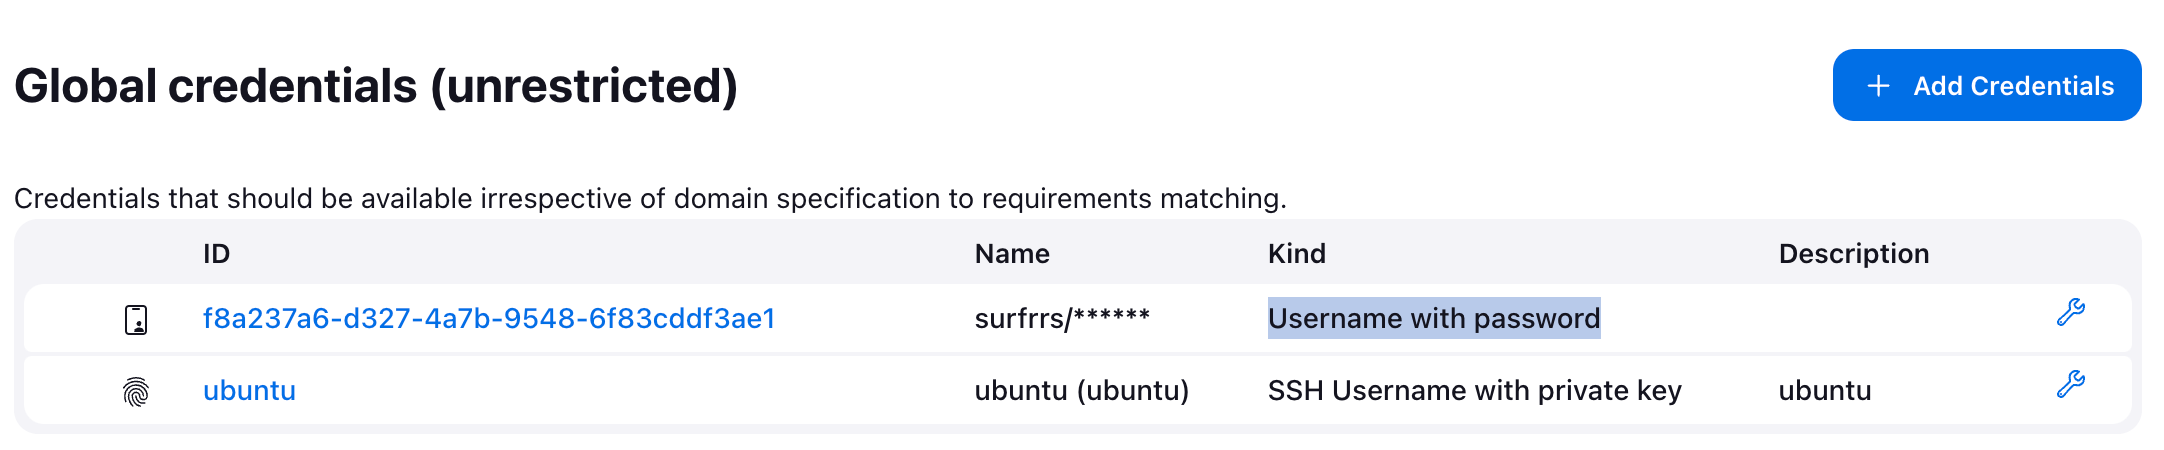
- For Credentials, Click on Add (or select a set of credentials for our node if it already exists)
- Select a credentials domain (e.g. Global credentials which is “Jenkins”)
- Select Kind=SSH Username with private key as we are utilizing “mykey.pem”
- Enter an ID which are required to be unique; do not use special characters
- Enter a Description
- Enter the Username (e.g. ubuntu is our User for “mykey.pem”)
- For Private Key, select “Enter directly” and click on Replace
- Using an editor, open “mykey.prem” and copy the private key including the tags “—–BEGIN RSA PRIVATE KEY—–” and “—–END RSA PRIVATE KEY—– “
- Paste the private key
- Do not use Passphrase as we didn’t provide one when “mykey.pem” was generated
- Click on Save
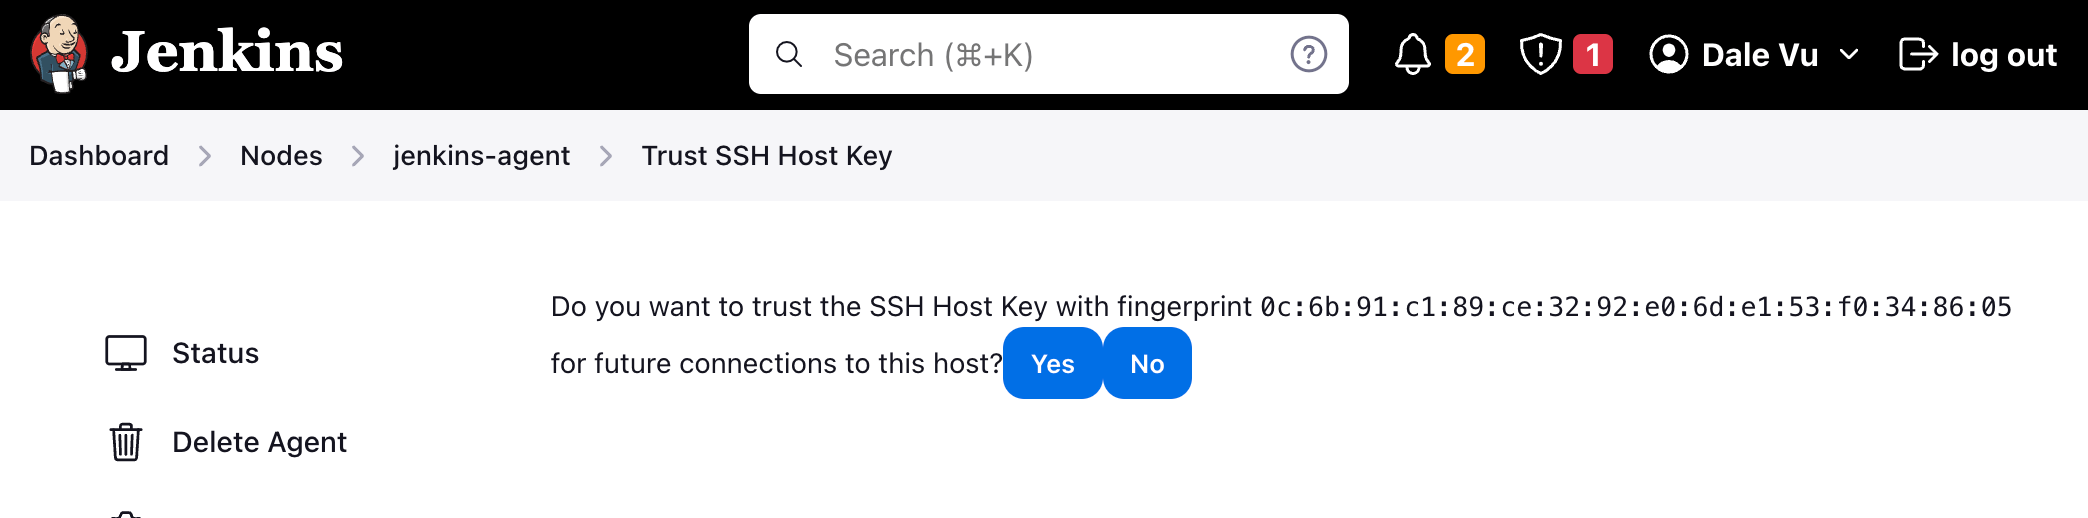
- For “Host Key Verification Strategy”, select “Manually trusted key Verification Strategy” and click on “Require manual verification of initial connection. By selecting the aforementioned configuration, we state that we trust the initial key provided, and when keys change/rotate, we will need to confirm and trust updated keys
- To confirm or authorize a key, click on Trust SSH Host Key then click Yes. The fingerprint listed should match what’s on the node
- For Availability, “Keep this agent online as much as possible” works but we should consider using “Bring this agent online when in demand, and take offline when idle” which is more secure
- Click on Save
- Click on “Launch agent“
Note: the agent is available to accept and execute jobs


Leave a comment